Two Paths
1. Claude Code + Obsidian - Claude Code hooks into your entire computer. It can run terminal commands, automate tasks on a schedule, track changes with git, and access anything on your machine. One environment where Claude and your notes live together. Works on Mac, Windows, and Linux.
2. Co-Work - A chat interface with built-in connectors for Gmail, Calendar, Slack, etc. Handles the core workflows with fewer moving parts, but less flexibility than Claude Code. Mac only.
Jump to Co-Work Setup at the bottom of this page.
Part 1: Get the Starter Kit
We’ll create a folder on your computer where:
- You store all your notes and tasks (like Notion, but local)
- Claude Code can read and edit everything
- You run commands like
/delegate - Claude processes your task queue and does the work
Download The Workspace
First, open your terminal:
- Mac: Search for “Terminal” in Spotlight (Cmd+Space)
- Windows: Open PowerShell (search in Start menu)
- Linux: Open your terminal app (Ctrl+Alt+T on most distros)
Then copy and paste these commands:
# Navigate to Documents
cd ~/Documents

# Download the starter workspace
curl -L https://github.com/derek-larson14/delegate/archive/main.zip -o starter.zip

# Extract and clean up
unzip starter.zip && rm starter.zip

# Rename to claude-workspace
mv delegate-main claude-workspace

# Enter the workspace
cd claude-workspace

# Install Claude Sidebar plugin
curl -sL https://github.com/derek-larson14/obsidian-claude-sidebar/archive/refs/heads/main.tar.gz | tar -xz -C .obsidian/plugins && mv .obsidian/plugins/obsidian-claude-sidebar-main .obsidian/plugins/claude-sidebar

# List files to confirm
ls
You should see files like roadmap.md, tasks.md, etc. You can also find it in Finder → Documents → claude-workspace.
Feel free to rename the claude-workspace folder to whatever you wish.
If you want to access your workspace from your phone or other computers, we’ll set up sync in the Making It Yours module.
Your workspace includes SETUP.command - double-click it to install tools for calendar, mail, and messaging commands. You can do this now or later when you want those features.
Part 2: Install the Software
curl -fsSL https://claude.ai/install.sh | bashIf you run into issues, see Claude Quickstart
Part 3: Set Up Obsidian
Your workspace is a folder with files in it. Obsidian is how you’ll view and edit them.
Think of Obsidian as a local Notion - it’s a nice interface wrapped around a folder that lives on your computer. The files are plain text (markdown), so Claude Code can read and edit them.
Install
- Download Obsidian Here
- Run the installer
- Open Obsidian
- Click “Open folder as vault”
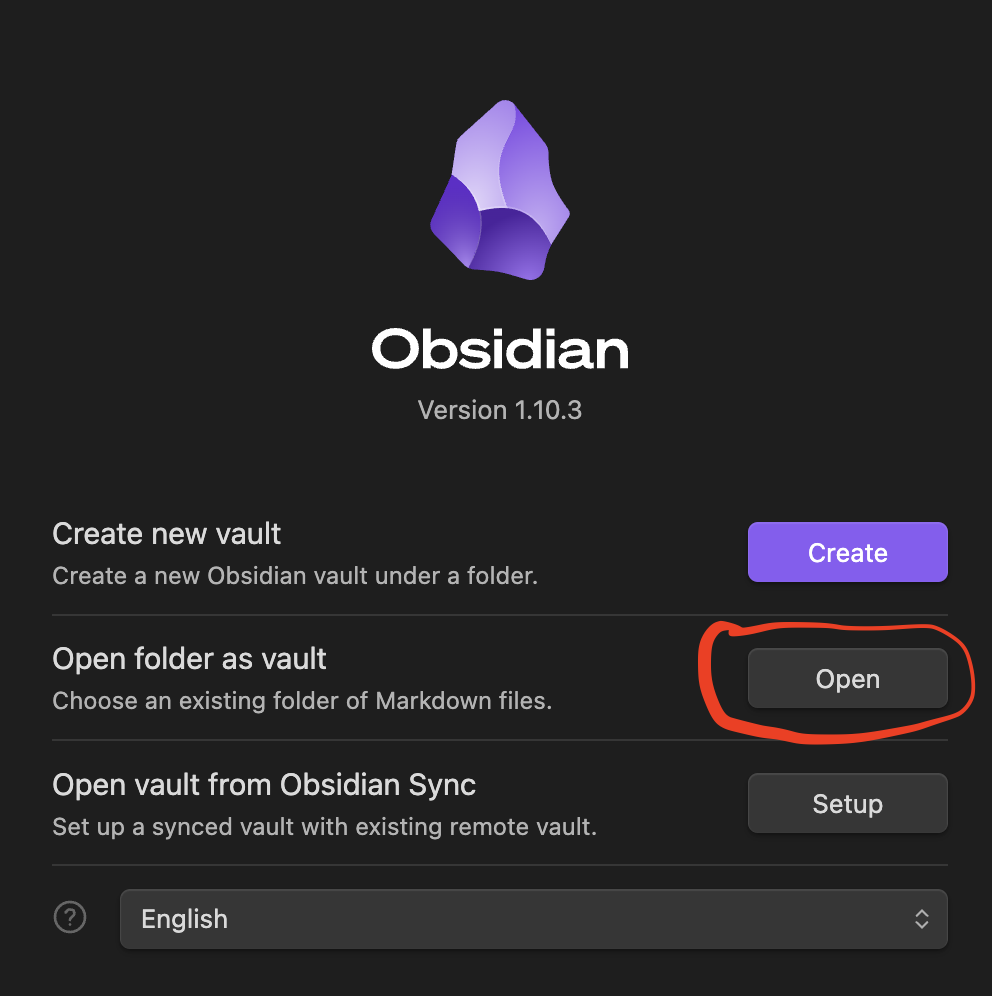
- Navigate to your claude-workspace (in Documents)
Once opened, you’ll see your files in the sidebar:
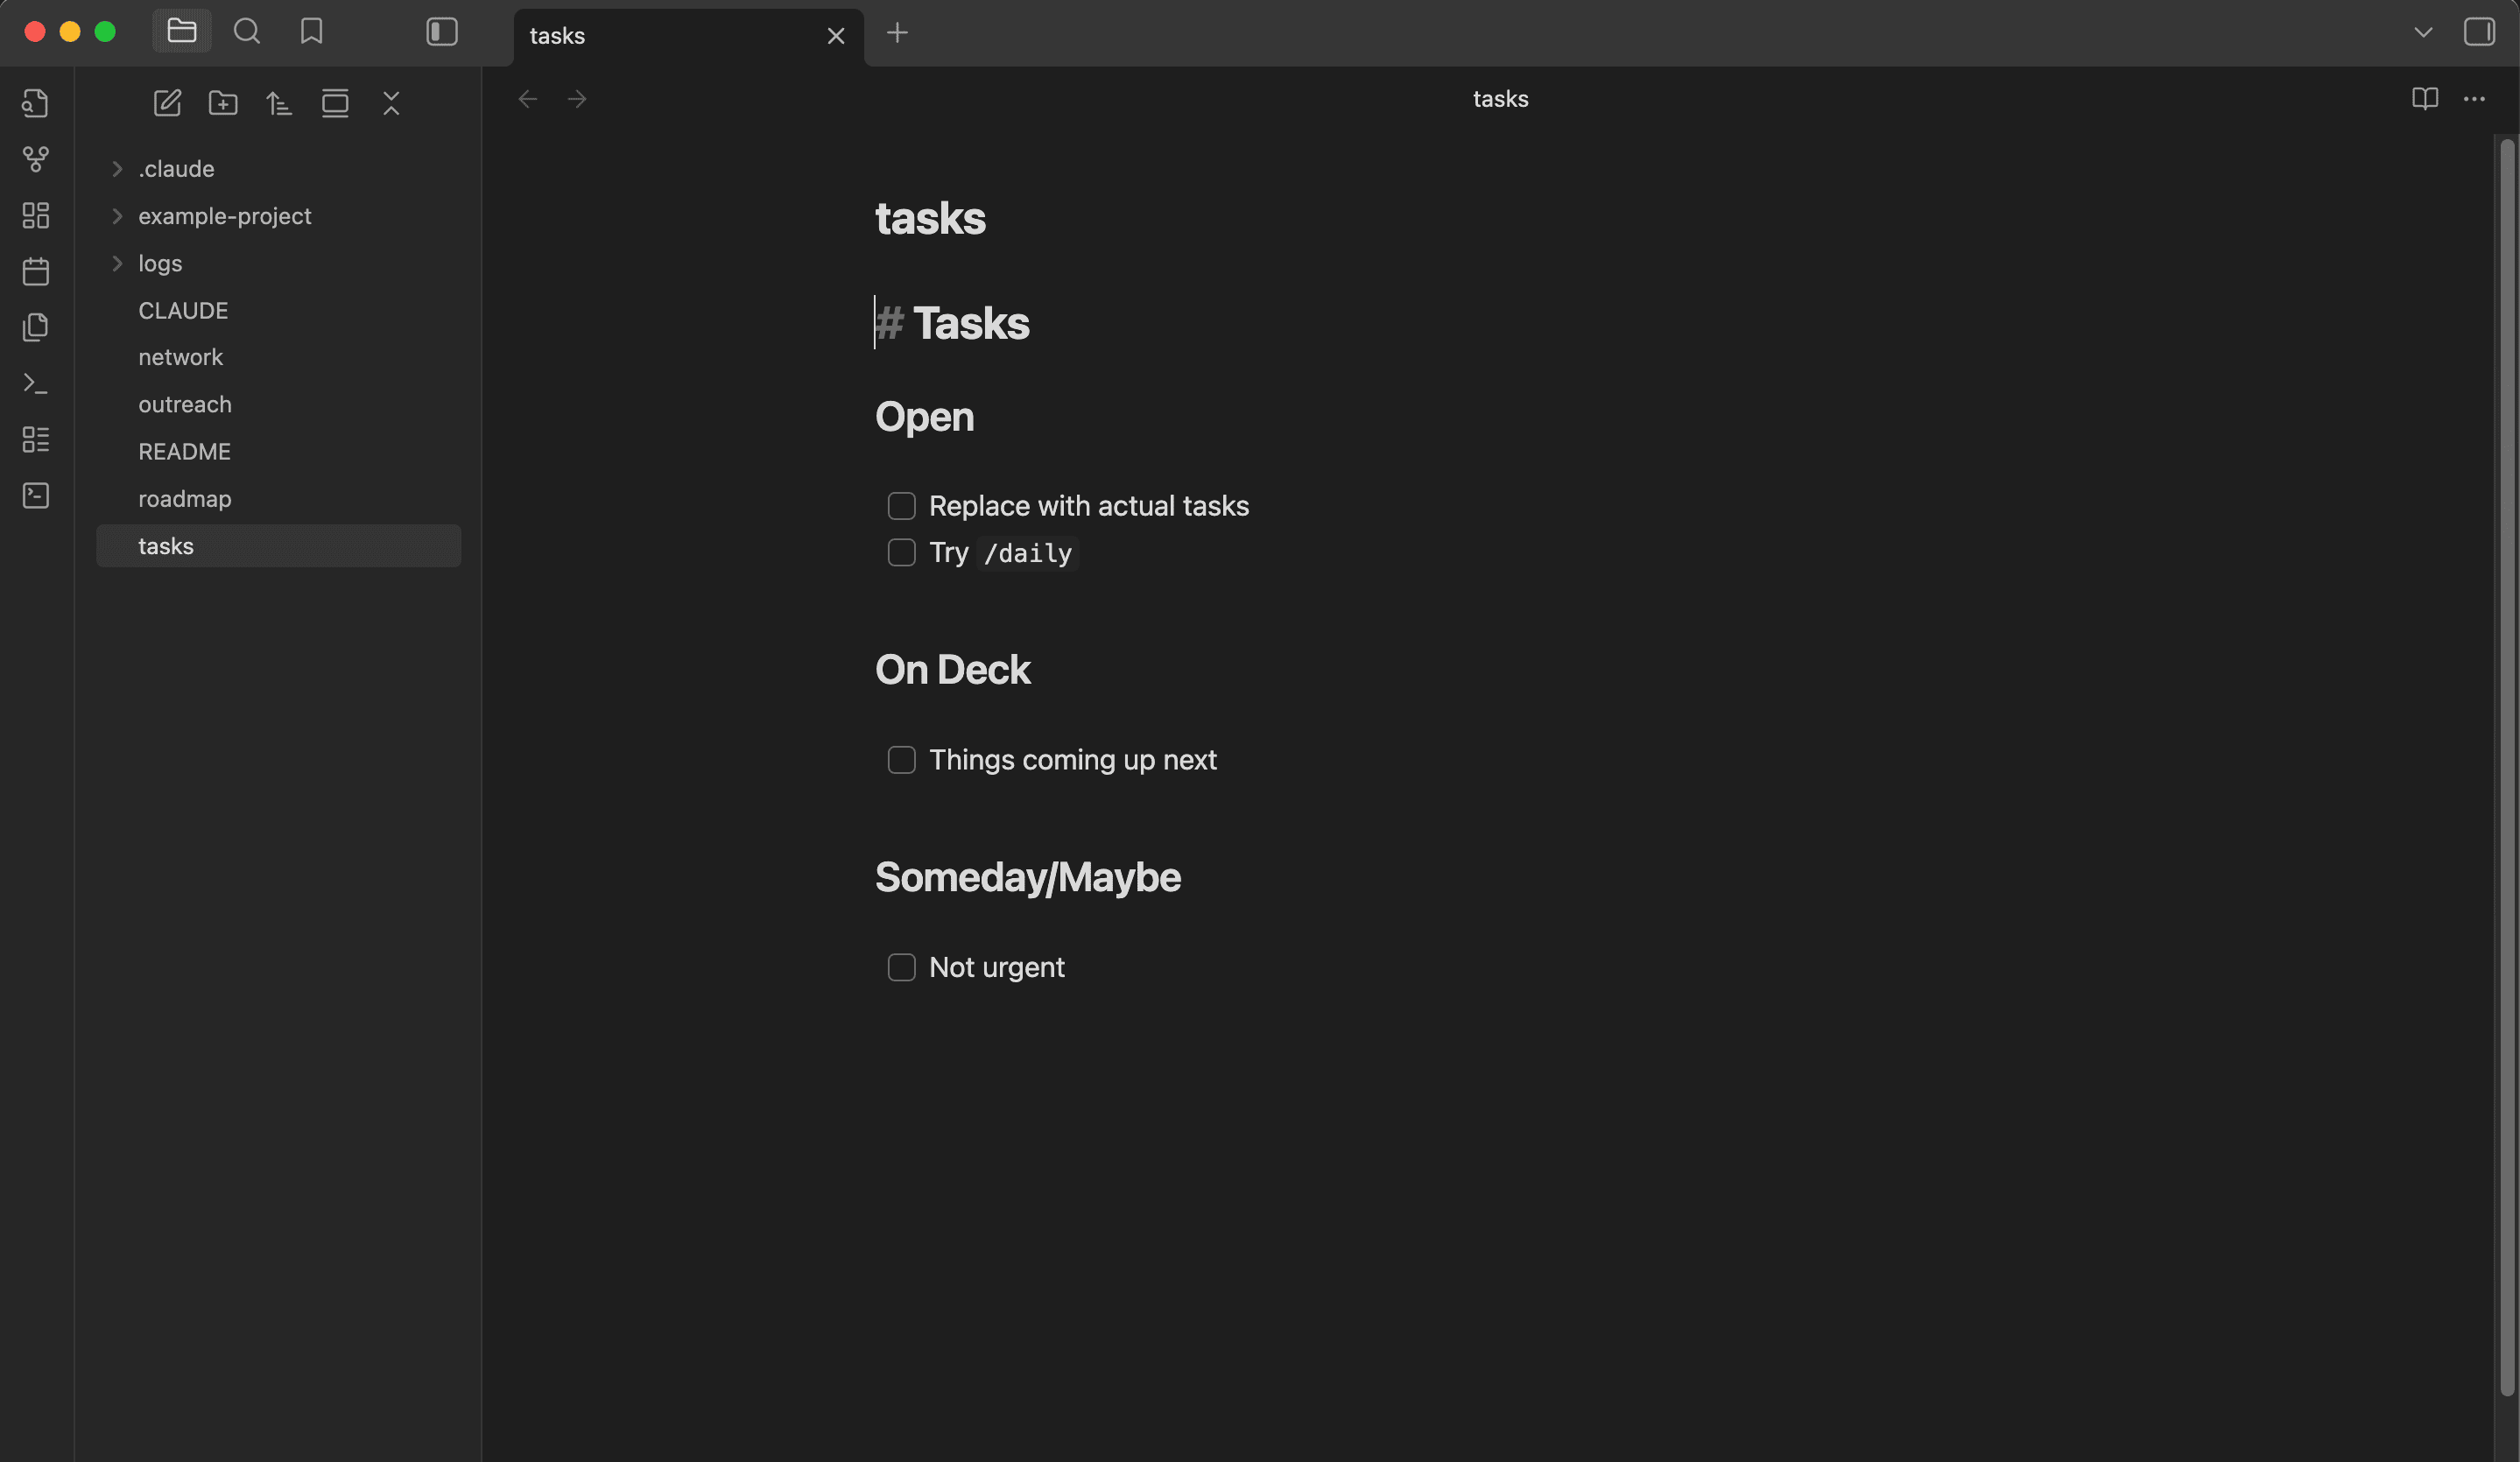
The starter kit includes pre-configured plugins. When prompted, click “Trust author and enable plugins.”

Open Claude Sidebar
Click the bot icon in the left sidebar:
![]()
Or use Command Palette (Cmd+P) → “Open Claude Code”:
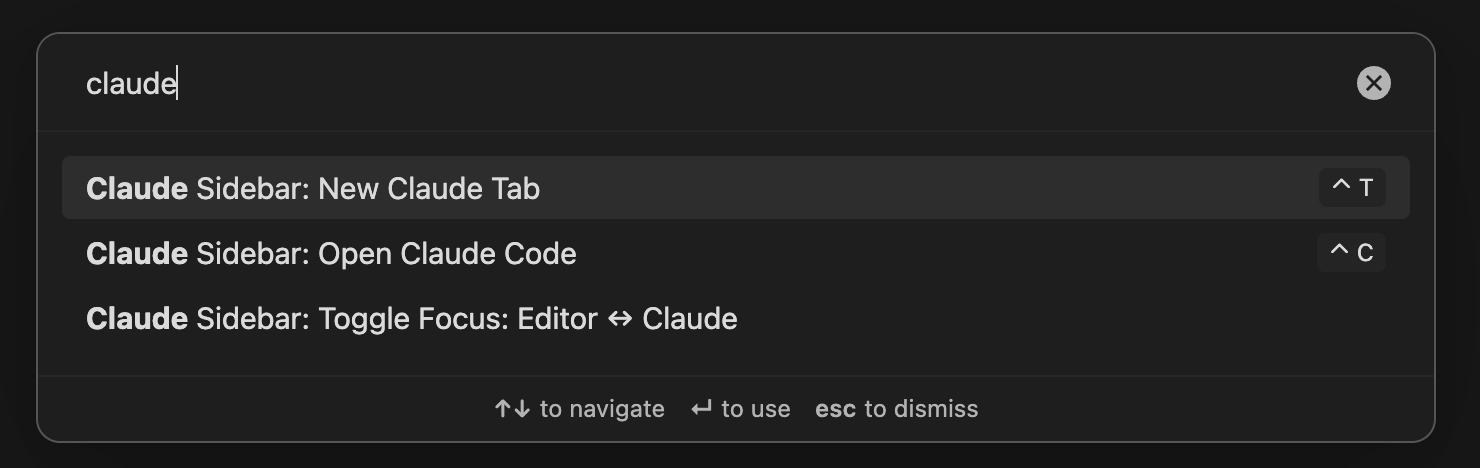
We built a plugin that embeds Claude Code directly into Obsidian - no terminal needed after setup. The first time you open it, you’ll be prompted to log in or create an account (see Part 4).
Prefer the Terminal?
Here’s a quick primer.
The terminal is a text-based way to navigate your computer and run programs.
Think of it like this:
- Finder/Explorer = Visual way to browse folders (point and click)
- Terminal = Text-based way to do the same thing (type commands)
| Command | What it does | Visual equivalent |
|---|---|---|
cd folder-name | Enter a folder | Double-click folder |
cd .. | Go back one level | Click “Back” button |
ls (Mac/Linux) or dir (Windows) | List what’s here | Looking at folder contents |
pwd | Show current location | Looking at the path bar |
Example:

Once you’re in the workspace, type claude and hit Enter to start Claude Code (the first time, you’ll be prompted to log in or create an account, see Part 4):
Finding Your Workspace Again:
Click the terminal button in the Obsidian sidebar:
![]()
Or run:
cd ~/Documents/claude-workspace && claudePart 4: Log In to Claude
The first time you open the sidebar, you’ll be prompted to log in.
Select your login method (Recommended: 1. Claude account with subscription)
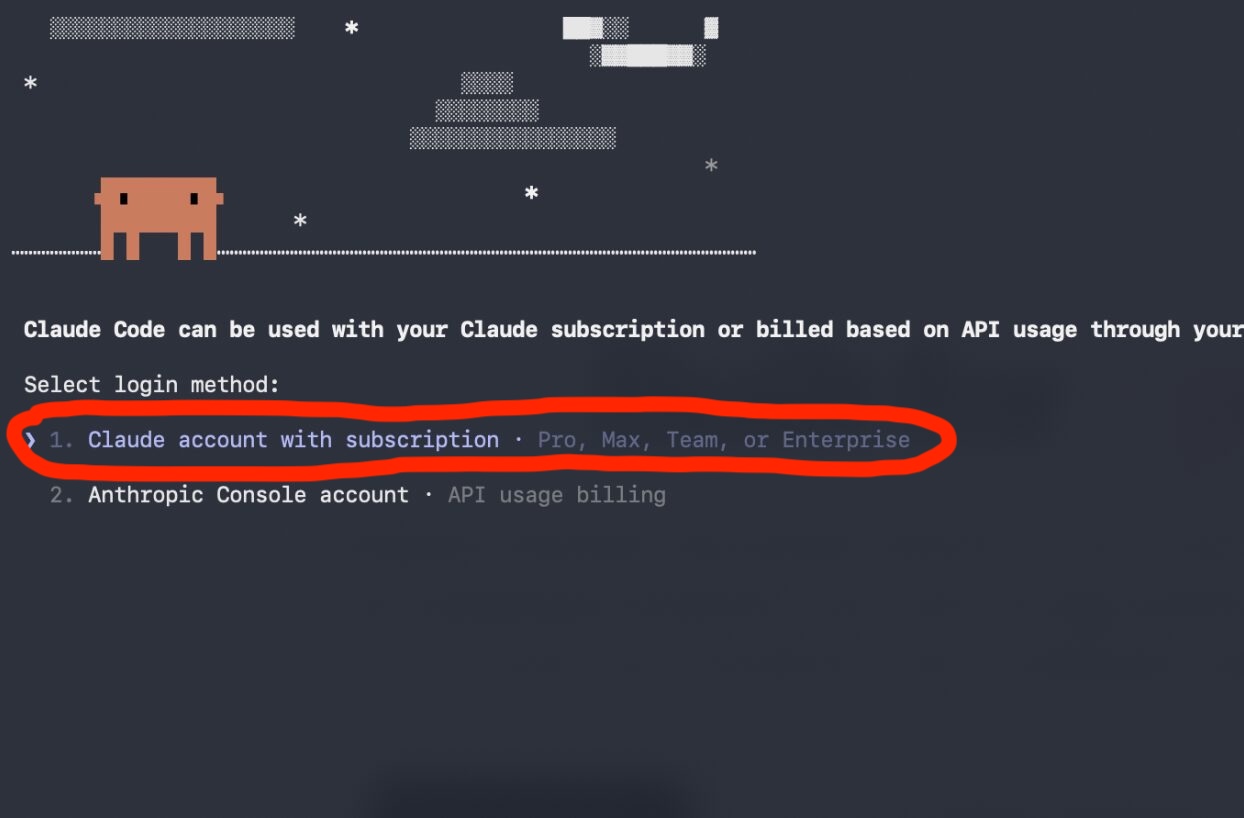
You will be prompted to log in or create a Claude account.
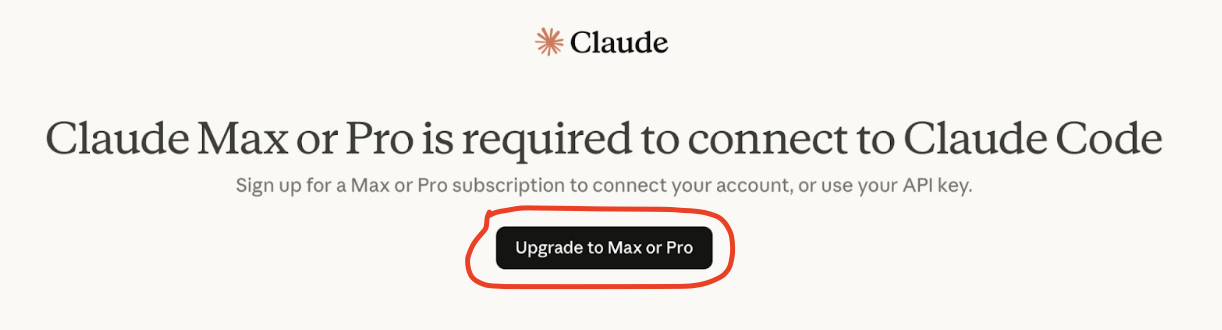
You’ll need either:
- Claude Pro ($20/month)
- Claude Max ($100+/month)
Which one? I recommend starting with the $20 / month Pro plan. If you hit usage limits you can always upgrade
Part 5: Your First Command
Your workspace has a file called delegation.md. This is Claude’s task queue. You add items, then run /delegate to have Claude process them.
First, open delegation.md and add a few items you want Claude to take on. Here are some examples:
Then in the sidebar, type:
Claude reads your queue, picks up what it can handle, and gets to work. It reads your files, makes changes, writes research to files, then comes back with a summary of what it did and anything it needs from you.
Example output:
What happened?
When you type /delegate, here’s what happens:
- Claude looks for a file called
.claude/commands/delegate.md - Claude reads the instructions in that file
- Claude follows those instructions: reading your queue, doing the work, marking items complete
A command is just a markdown file. You can edit it, create new ones, or delete ones you don’t use.
What makes a good delegation item?
Research, code changes, data analysis, automation scripts, file organization, prototyping.
As you use /delegate, completed items get archived, building a log of everything Claude has shipped for you.
Other Commands to Try
Morning brief. What’s on your plate, blockers, one thing to focus on.
Shows usage, settings, configuration
Part 6: The Basics
Inline Editing
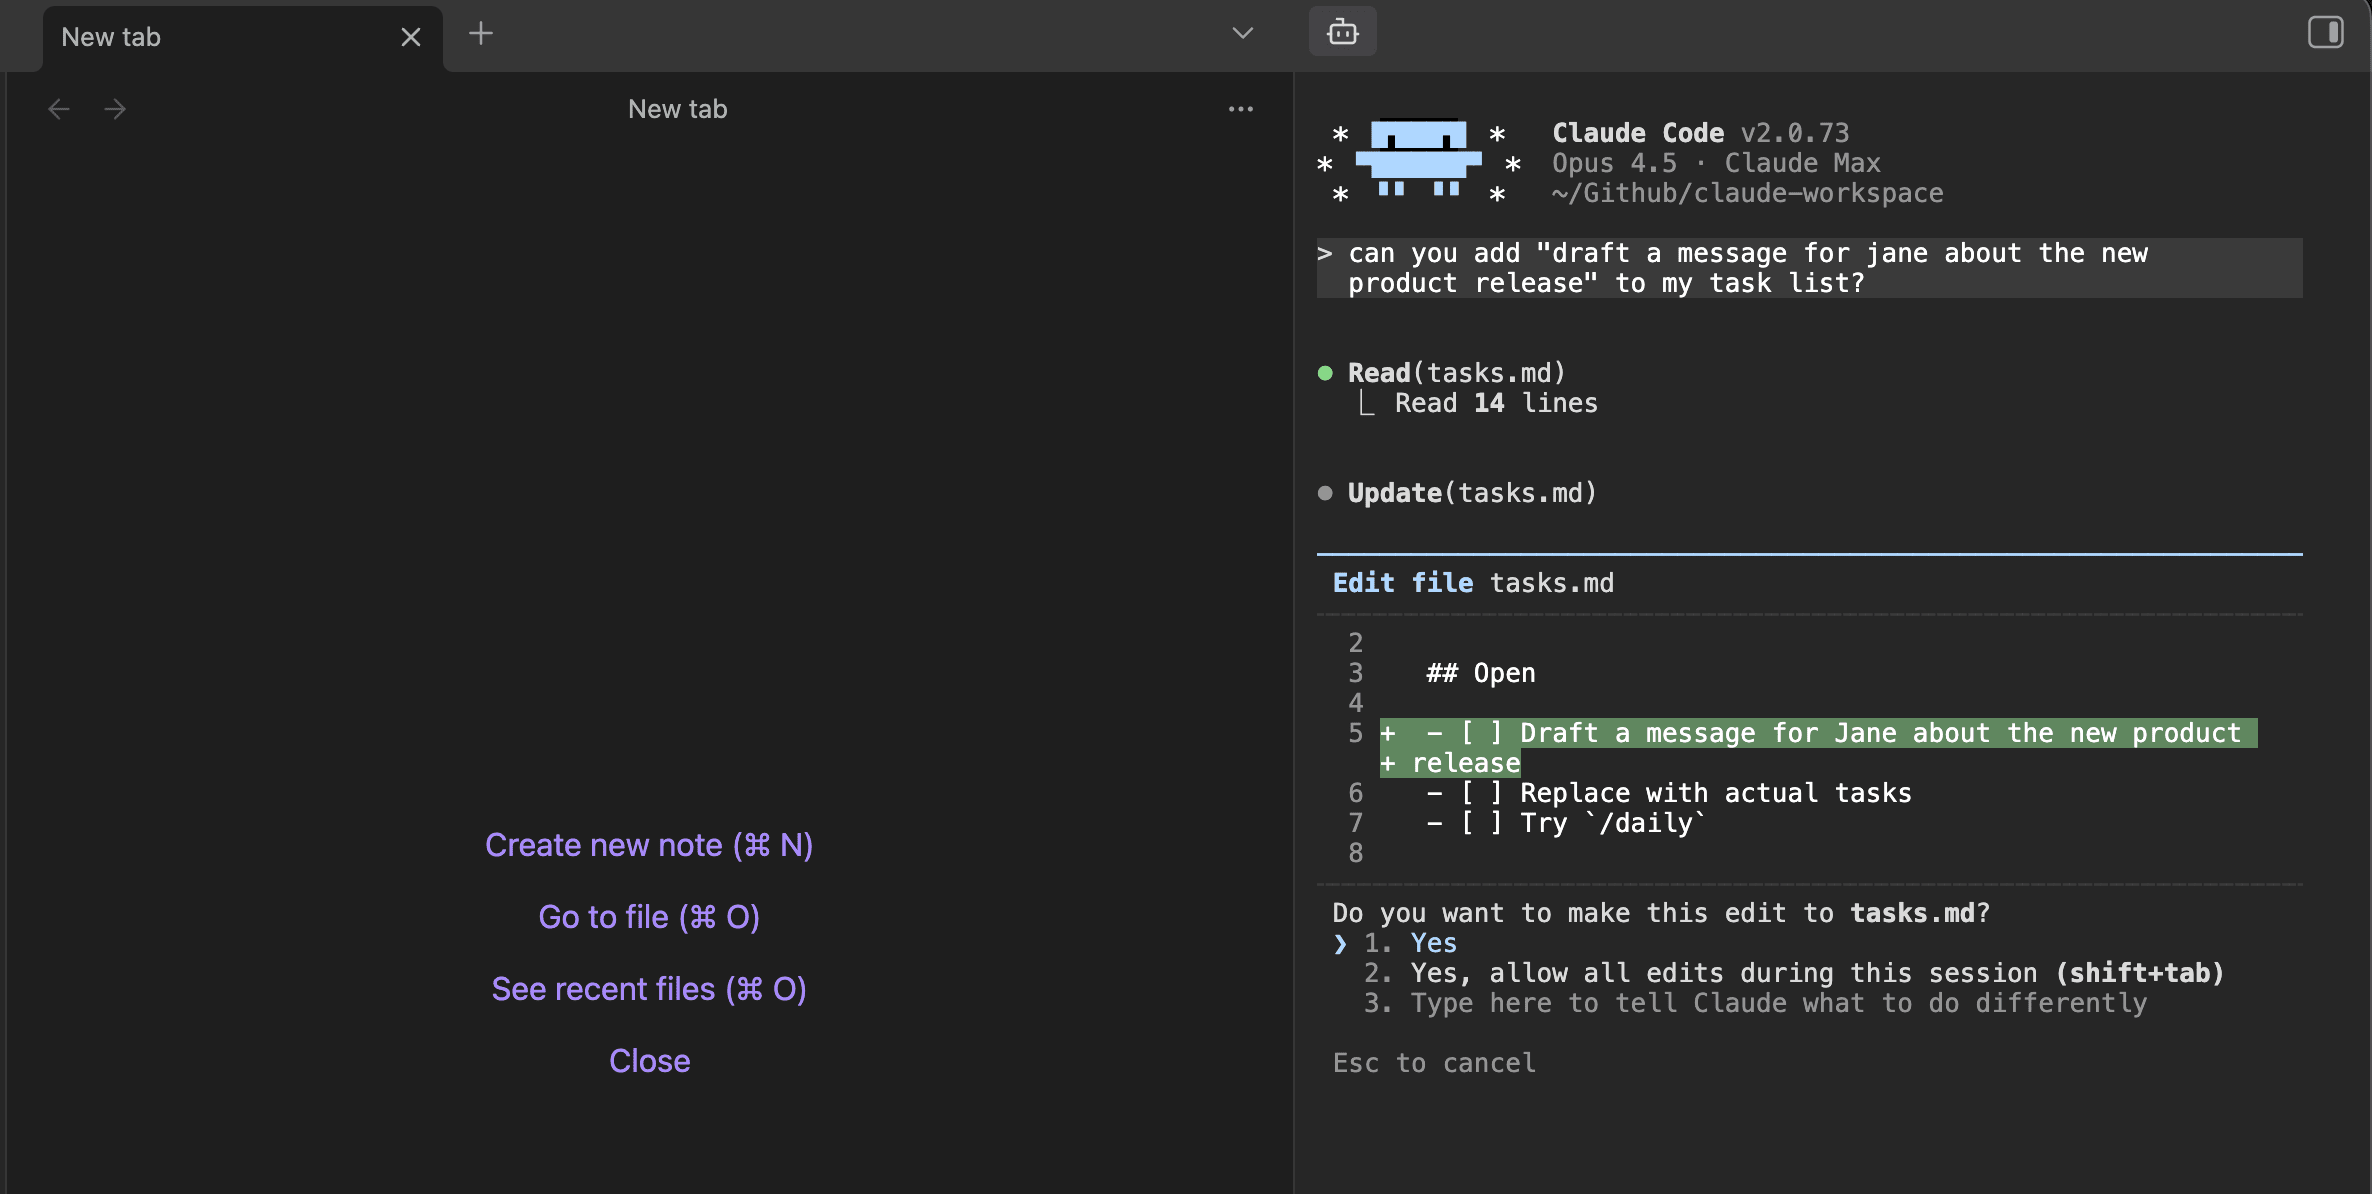
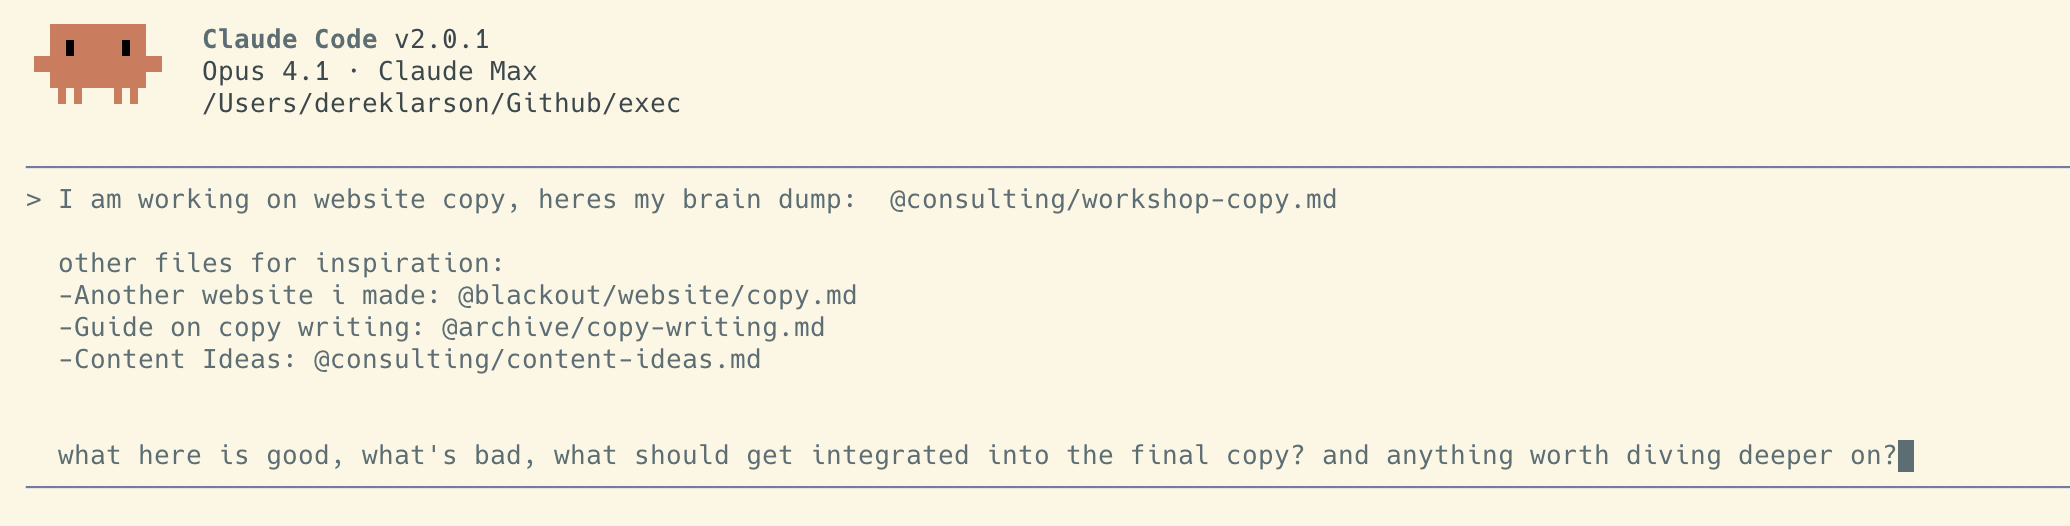
Try typing a natural language request like:
Claude will read your tasks file, propose an edit, and ask for approval:
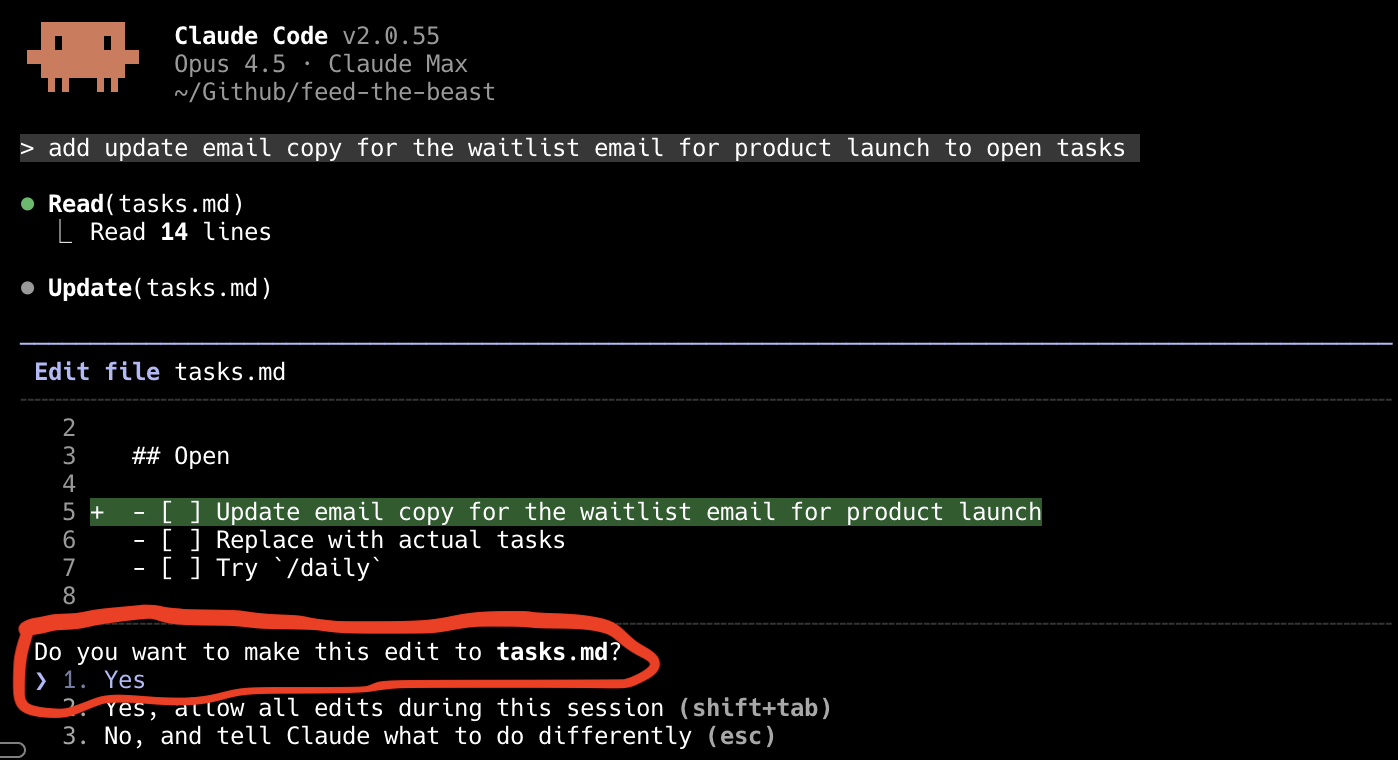
You can:
- Press Enter (Yes) to accept the edit
- Press Shift+Tab to allow all edits this session
- Press Esc to reject and give different instructions
Chatting With Your Files
You can also have a conversation with Claude about your files. Type @ and start typing a filename - Claude will autocomplete:
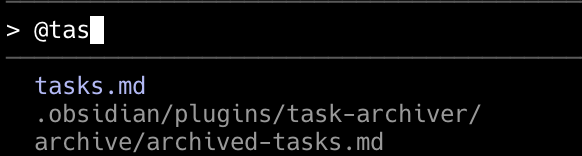
Try something like:
You can tag multiple files to give Claude more context:
Claude can read, compare, and reason across all your files.
If you’d rather speak than type, Wispr Flow turns your voice into text in any input field. Works on Mac, Windows, and Linux.
When Things Go Wrong
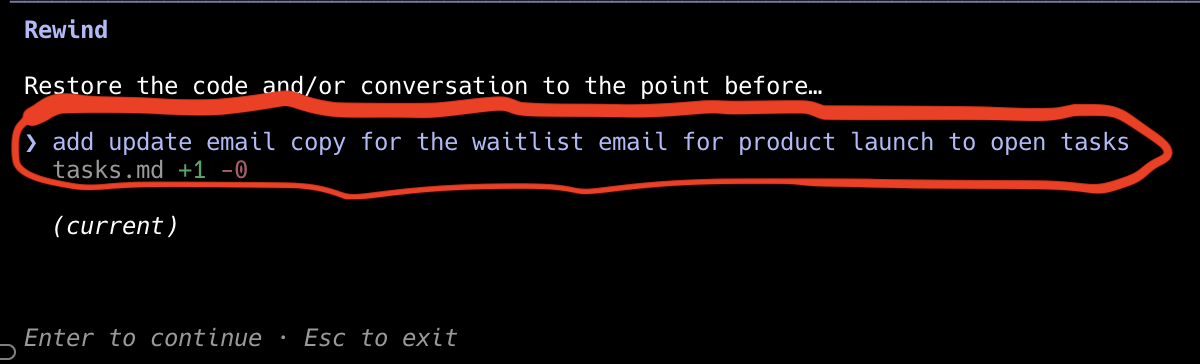
Undo Claude’s changes: Press ESC twice to open the rewind menu. Select which message you want to restore to:
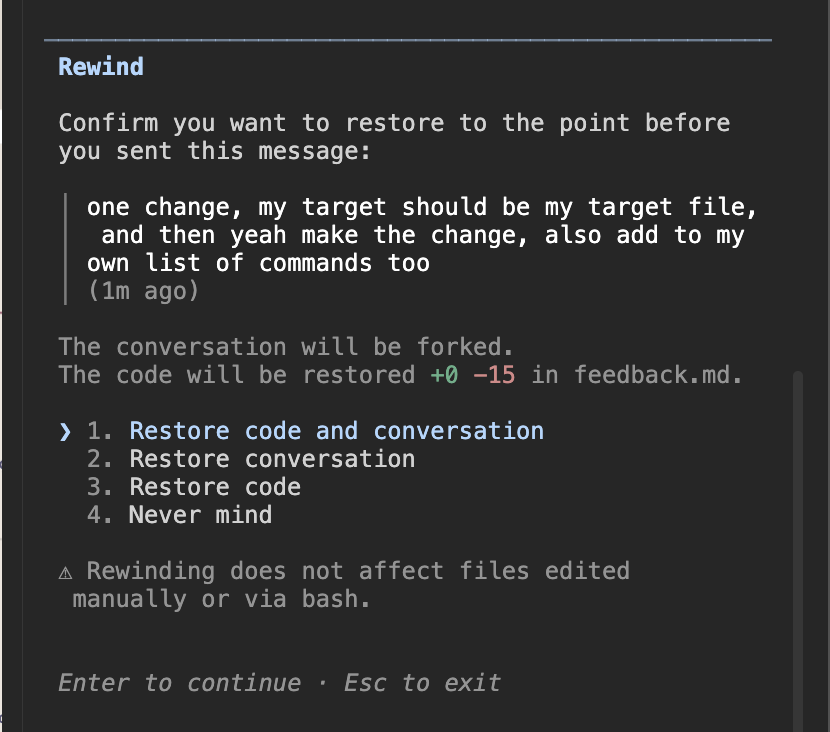
Then choose how to restore - “Restore code and conversation” undoes both Claude’s file changes and the conversation:
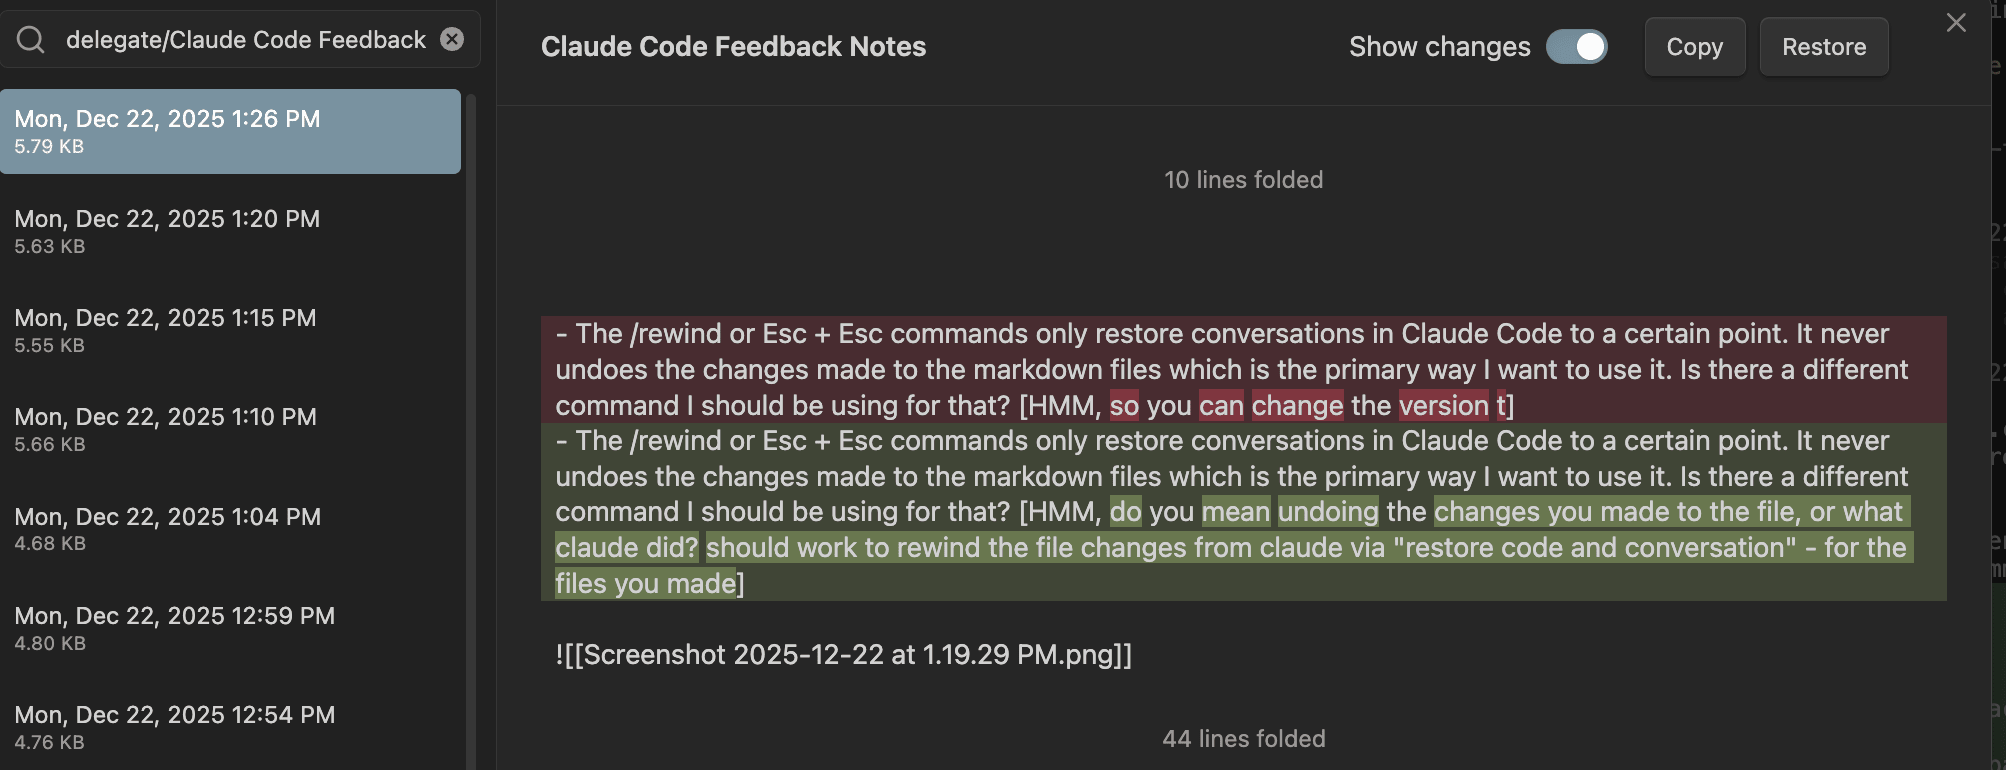
Undo your own changes: Rewind only affects Claude’s edits, not changes you made manually. For those, use Obsidian’s file recovery:
- Open Command Palette (Cmd+P)
- Search “File recovery: Open local history”
- Select the file and version to restore
Start over: If the conversation is going in circles or you want a clean slate, type /clear. Claude forgets the conversation but keeps access to your files.
If you’re really stuck, email derek@newyorkai.org
Co-Work Setup
If you chose Co-Work, here’s how to get going.
1. Download the Co-Work workspace
Download cowork-workspace and unzip it somewhere on your Mac (like Documents).
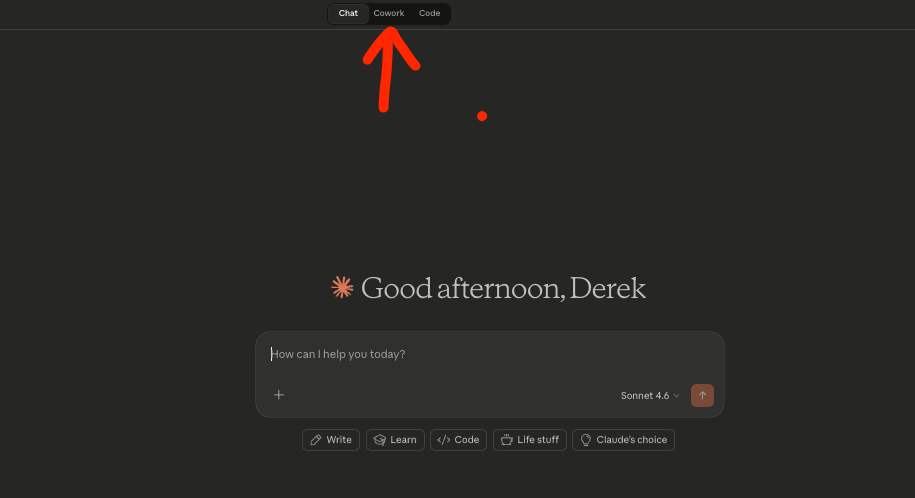
2. Switch to Co-Work
Open the Claude desktop app. It defaults to Chat. Toggle to Co-Work at the top. You need a Pro or Max plan.
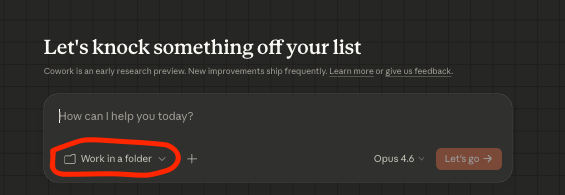
3. Mount the workspace folder
Click Work in a folder and select the cowork-workspace folder you just downloaded.
4. Guided onboarding
Type “walk me through the guided onboarding” and Claude will help you install the delegate-cowork plugin and connect your services. We’ll go deeper into connectors in Your Systems.
5. Your first commands
Once setup is done, try:
Morning brief. Pulls from your calendar and email to show what matters today.
See your schedule, check availability.
Or just tell Claude what you’re working on. Drop tasks into the chat, ask it to research something, tell it to write a draft. Co-Work is chat-first. Files get created in your workspace as needed.
If you want to queue up work for Claude to process in batch (like the Claude Code path does with /delegate), just ask Claude to create a delegation.md file and start adding items.
6. Optional: Pair with Obsidian
If you want a nice interface for viewing and editing your files, download Obsidian, open it, and point it at the same cowork-workspace folder. Both apps read the same folder so everything stays in sync.